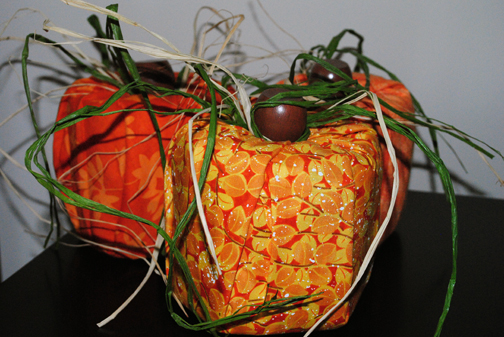
Tutorial: Fabric Pumpkins
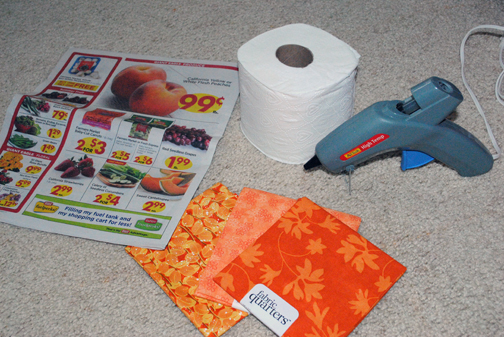

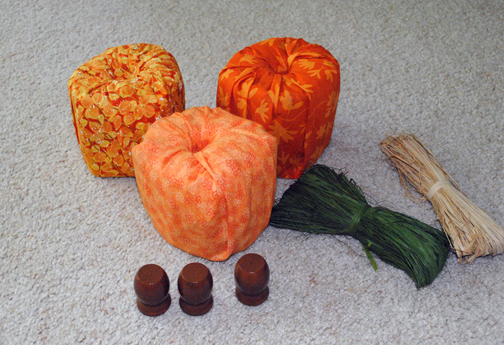
1. If you did not buy \”Fat Quarters\” (found at Joann\’s) cut your fabric to 18\”x21\” and iron out the creases. Lay fabric right side down with the newspaper on top (cut the newspaper to fit if need be).
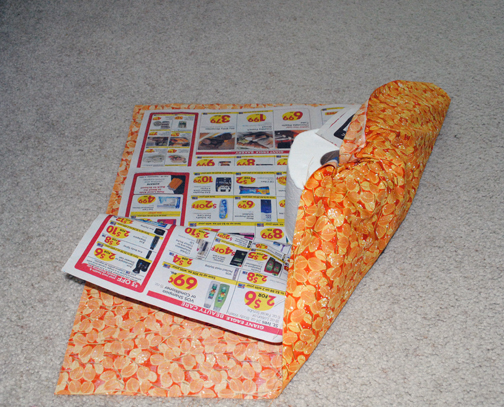
2. Place the toilet paper in the middle; starting with the shortest sides, bring the fabric up and tuck it inside the hole of the roll.
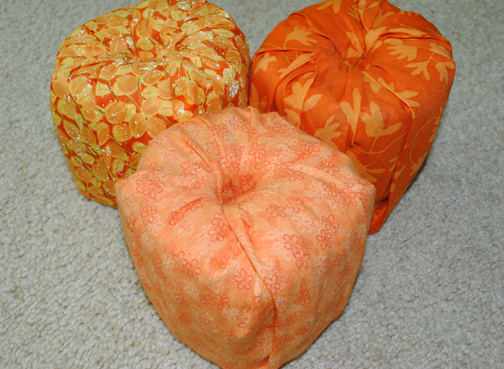
3. Repeat all the way around. Once you have finished run an iron over your pumpkin so that it will look smooth.
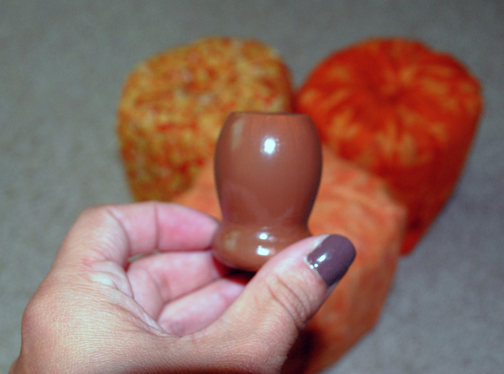
4. I bought a wood candle holder at Michaels and painted it brown for my stem. You can also use sticks or whatever you want.
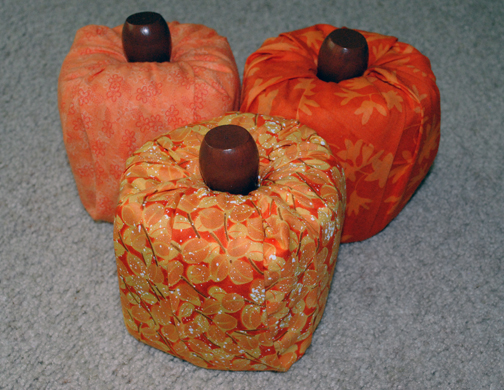
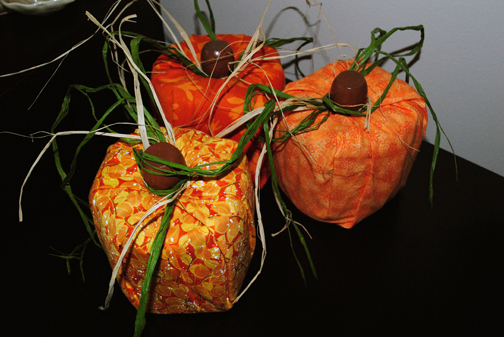
5. Insert the stem into the center of the pumpkin.
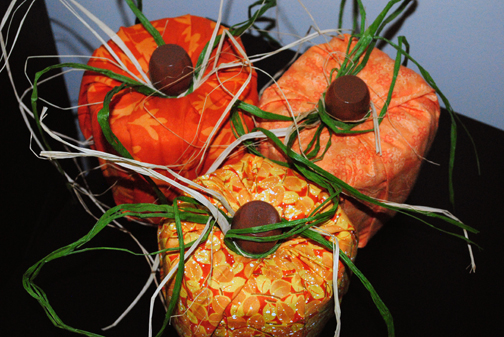
6. Tie the raffia around the stem of the pumpkin. Grab it in sections and crinkle it for more of a \”realistic\” look.


I have no idea how you come up with all this stuff, they are adorable!xx Emily @ laughliveandshop.blogspot.com
LikeLike
How cute are those!! You crafty thing you:)I hope you have been well- I can't wait to catch up!
LikeLike
super cute! thanks for sharing! http://www.stilettosanddiaperbags.blogspot.com/
LikeLike
Oooo Using cinnamon sticks would smell divine! What a fun fall project.
LikeLike
These are super cute! Thanks for sharing the great idea!
LikeLike
They are adorable!
LikeLike
OMG! Love this idea. Very cheap and easy!!! I will be doing this tonight. Thank goodness we just bought toilet paper on sale! LOL.
LikeLike
How cute! I would have to tear them apart when I run out of toliet paper!
LikeLike
LOVE this! And the comment before mine about running out of t.p.! I can totally see myself doing that at some point! :)This just might be my weekend craft. Thanks!
LikeLike
Cool post!GTBB,http://badjoan.blogspot.comhttp://cookingjoan.blogspot.com
LikeLike
Oh my gosh, these are darling!! What a great idea…and cheap! Love it!
LikeLike
adidas yeezyjordan shoessupreme shirtyeezyyeezy boost 350 v2jordan shoesbalenciagalongchampnike kyrie 5jordan 13
LikeLike